Redmi K20 Pro is the newest flagship smartphone by Xiaomi and a part of K20 series. It packs with flagship level specifications which makes it a beast. And rooting the phone will give the full control over the phone to extract the maximum performance. Here we will explain how to root Redmi K20 Pro with Magisk in 2 different ways.

The news about the phone is that Xiaomi is set to launch Redmi K20 pro in India (It may have already launched if you are reading this after a while). It is powered with Qualcomm Snapdragon 855 processor and packs with up to 8GB RAM. The K20 Pro also has pop-up selfie camera with a 20-megapixel sensor. The design of the phone is elegant and looks premium.
Redmi K20 Pro is a direct competitor of recently launched OnePlus 7 Pro which also packs with flagship level specifications. And now coming to Redmi K20 Pro development progress, which already begins. TWRP Recovery is already available for K20 Pro and we also posted the installation guide. The root procedure is also tested and you will find the full guide here. So let’s start the guide.
How to Root Redmi K20 Pro with TWRP Recovery
So first we will start with the root guide which will require a Custom Recovery and second guide will be without any custom Recovery. If you know the importance of a Custom Recovery then you will always prefer this method. As TWRP Recovery is now available, So here we are going to use the TWRP Recovery to root Redmi K20 pro. Follow the pre-requirements first.
Prerequisites
- Install TWRP Recovery on Redmi K20 Pro (Skip if done already)
- Download Magisk & Magisk Manager
- Take a full backup (To restore if anything goes wrong)
Steps to Root Redmi K20 Pro using TWRP Recovery
- Copy the Magisk Zip & Magisk manager APK on your phone.
- Completely power off your phone.
- Long press Volume Up + Power button to boot into TWRP Recovery.
- In TWRP Recovery click on Install and locate Magisk Zip file.

- Flash the Magisk Zip file to Root Redmi K20 Pro.
- Reboot the Phone into the System.
- Install the Magisk Manager APK and make sure both Magisk & Magisk manager shows green sign.
- Enjoy your rooted K20 Pro.


This method is for those who have already installed TWRP Recovery or they want to Install TWRP Recovery. But those who want to Root the phone without installing TWRP Recovery can follow the below guide.
How to Root Redmi K20 Pro without TWRP Recovery
Well this guide doesn’t require a custom Recovery but the process is long, so follow the exact given steps. This method needs a boot image of the firmware/fastboot ROM that is currently running on your phone. We need to patch the boot image and then we will install it using the fastboot commands. Magisk is necessary for systemless root that why we are using Magisk on both methods.
Prerequisites
- Take a full backup of phone’s data (To restore if anything goes wrong)
- Download Firmware/Fastboot ROM for your phone (Same version)
- Download Magisk Manager APK
- Install ADB & fastboot drivers on PC
- Download Platform Tools
Steps to Root Redmi K20 Pro without TWRP
- Install latest Magisk Manager on your Phone.
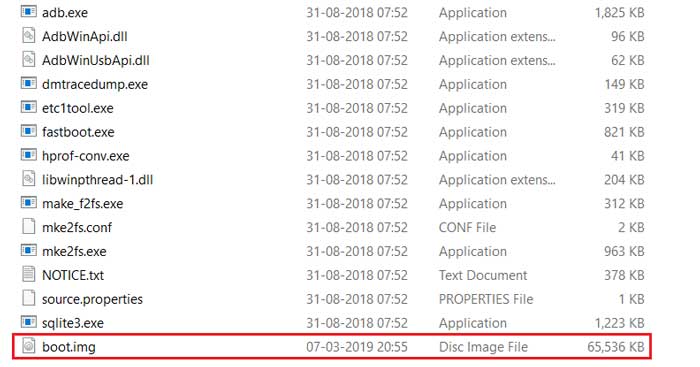
- Extract the Firmware and open the extracted folder & look for boot.img.
- Transfer the boot.img file to Phone storage.
- Open Magisk manager app.
- Under Magisk section click on Install > Install.

- Then select method as “Select and Patch a File”.

- Locate and select the boot.img and it will start patching the boot image.
- The patched_boot.img/magisk_patched.img file will be saved to the Download folder.
- Extract the platform tools zip file and open the extracted folder. Copy the patched_boot.img file to this folder. Also rename the patched_boot.img to boot.img for convenience.

- Power off your phone. Long press Volume Down + Power button to boot the phone into Fastboot mode.
- Connect your phone to PC using a USB Cable.
- In platform tool, press Shift + Right click on an empty area and select “Open PowerShell window here” or “Open Command window here”.

- Now in Command/PowerShell window enter the below command.
fastboot flash boot boot.img
- The above command will flash Magisk and root the Redmi K20 Pro.
- Reboot your phone into the system.


Done, you have successfully rooted your K20 Pro phone. There are a lot of advantages of rooting the phone, but it also has some disadvantage. First and the main disadvantage that you will not receive any OTA updates on your phone. Another disadvantage will be the Google Pay or other banking App may or may not work after rooting (check out this guide to make it work).
Rooting gives control over system files where we can change any files. After rooting we can easily enable camera2 API on any Android phone (K20 Pro already comes with enabled Camera2 API by default). So that’s it for this guide enjoy the root features on your Redmi K20 Pro.
More Guides: