
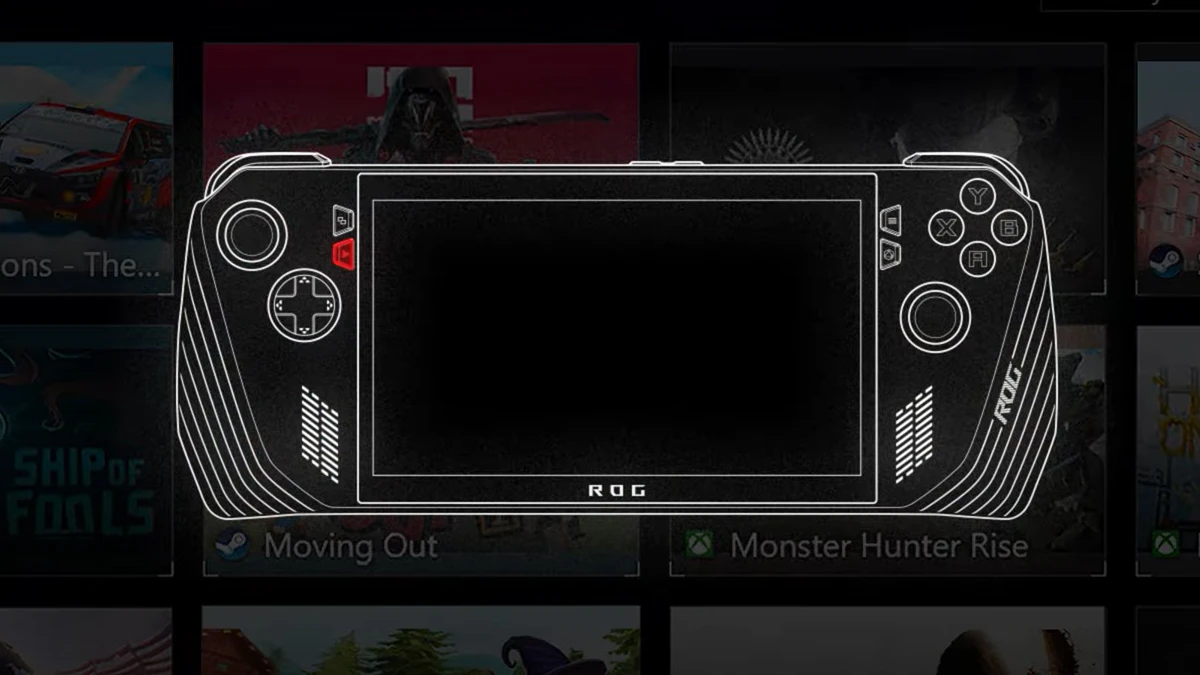
The handheld gaming scene is improving a lot. In fact, there have been a lot more handheld gaming consoles than we did expect. One of the interesting handheld consoles out there apart from the Steam Deck is the console from ASUS. The ASUS ROG Ally is a lovely handheld console that has become a favorite for gamers.
As gamers, we all love to take screenshots and capture in-game footage. While it is generally simple and easy to do those things on a regular Windows PC or laptop, for some users the idea of taking a screenshot on the ASUS ROG Ally can be difficult. So, if you are looking for a way to capture screenshots and record gameplay footage on your ROG Ally, you’ve come to the right place.
How to Take Screenshots and Record Gameplay on ROG Ally
In this guide, we will be taking a look at how you can take screenshots and capture in-game footage on your ASUS ROG Ally handheld gaming device. Since this is a handheld that runs on Windows 11, you can always make use of a number of third-party apps and tools that lets you screen record and capture screenshots with ease. However, we will first take a look at how you can take screenshots using a tool that comes with the ASU ROG Ally.
Take Screenshots with ASUS Armoury Crate on ROG Ally
A lot of ASUS laptops out there, especially the gaming models come with this particular software called Armory Crate. In the case of the ROG Ally, you also get this Armory Crate software. Since this is software created by ASUS for ASUS devices, you are free to use that software. Let’s take a look at how you can take screenshots on the ROG Ally.
- On the right side of the ASUS ROG Ally, press the Armoury Crate button.
- Now, select the Settings option from the Armoury Crate.
- Scroll and tap on the + icon that sits under the Edit Command Center header
- Finally, tap on the Take Screenshot option.
- Whenever you press the Armoury Crate button on your ROG, you will find the Take Screenshot option.
- Selecting it will now take a screenshot of your screen on the ASUS ROG Ally.

Screen Recording using ASUS Armoury Crate on ROG Ally
Just like how you can set up the screenshot feature via the Armory Crate software, you can easily set up screen recording on the ASUS ROG Ally. Follow these steps.
- Press the Armoury Crate button on your ROG Ally.
- Click on the + icon and select the Record Screen button.
- Now that the option has been added to quick access in the Armoury Crate, simply select it and tap on Record Screen. You will be able to record your ROG Ally’s screen right away.
Additionally, you can simply hold down either the M1 or M2 buttons on your ROG Ally and press the Y button to initiate screen recording on the device.
How to Take Screenshots on ROG Ally via Xbox App
If you do not want to use the Armory Crate on your ROG Ally to take screenshots, you simply opt for the old-school method of using the Xbox App that can be installed from the Microsoft App Store. Follow these steps if you plan to use the method to take screenshots on your ROG Ally.

- If you do not have the Xbox App on your Windows PC, launch the Microsoft App Store.
- Now, tap on the search bar and type in Xbox.
- When you find the Xbox app, install it. Laos makes sure to install the Xbox Games Bar app.
- Once both apps have been installed, sign into the apps using an Xbox or Microsoft account.
- Once installed and signed in, you need to bring up the on-screen keyboard.
- With the traditional layout enabled for the on-screen keyboard, you simply tap on the Windows and G keys to pull up the Xbox Games bar. On the handheld device, you need to press M1 or M2 button along with the A button.
- From the bar that displays on your screen, tap on the Capture icon.
- This is how you have to take a screenshot using the Xbox Games Bar app.
If you want to screen record, then you can press M1 or M2 button along with the X button.

Use the Snipping Tool to Take Screenshots
The best alternative to take screenshots on your ASUS ROG Ally is by using the good old snipping tool. This tool comes pre-installed with Windows 11 and is fairly simple to use. You simply need to pull up the on-screen keyboard and press the Windows Shift and S keys on the keyboard. Once you do that you can take a screenshot by choosing the style or type. You can choose to take just a part of the screen, a particular window, or simply the whole screen.
Sharing Screenshots and Screen Recordings
If you use the Armory Crate to take screenshots or screen records, you can easily make use of the Media Gallery that comes with the app to browse and easily share those screenshots to other devices or to other people using different apps installed on your ROG Ally.
This concludes the guide on how you can easily take and capture screenshots as well as screen recordings on your ASUS ROG Ally handheld. The best way to take screenshots is to make use of the Armory Crate app. While the other methods do work, you will be required to call out the on-screen keyboard. Or, you can simply use other methods if you have an external keyboard connected to your ASUS ROG Ally.
Related Articles: