
It has been just a few days since the official launch of Android 9.0 Pie & Redmi Note 4 already got the Android P through the custom ROM. And if you are looking forward to getting it on Redmi Note 4. Then check out How to Install Android 9 on Redmi Note 4.
Android 9 is now officially available for Pixel devices and now rolling out to some flagship devices. There is a sad truth about the update that is Redmi Note 4 has no chance of getting an official Android 9 update. It did not even get the Android Oreo update. And it’s been about more than a year for Redmi note 4 so there is no worrying about warranty. We know that Redmi Note 4 will not get an update, but who is stopping you from getting it? No one, you can go for custom ROMs, which are as stable as the stock ROMs. In custom ROMs, we can experience the latest Android version with additional tweaks.
Install Android Pie ROM on Redmi Note 4
Good News for Redmi Note 4 users that it has a number of custom ROMs available out there. And if specifically talking about the Android P or Android Pie there is still more than one option. However, in this post, we will guide to Install Android P Stable version on Redmi Note 4. All thanks to the Abhishek987 who is a developer and senior member at XDA forum. I will recommend to appreciate him for his awesome work.
Instructions:
To remind you that you are going to install a Custom ROM. And if you will not follow instructions carefully you might brick your phone, for which we are not responsible. So let’s see how to Install Android P on Redmi Note 4. Just follow the instructions carefully.
Note: Make sure to take backup of your phone, because you need to wipe all the data.
Requirements:
- TWRP trebled build Recovery
- AOSP 9.0.0 Custom ROM
- Gapps for Android 9.0
- Mokee or Lineage ROM(For trebled Recovery)
Store the custom ROM and Gapps on External SD card. If you do not have SD card, you can also send files directly to the phone after system wipe.
How to Install TWRP Recovery on Redmi Note 4
- To install the TWRP Recovery or any other recovery, you need to unlock the bootloader first. You can follow any YouTube video to unlock Bootloader.
- Now Install the adb and Bootloader driver on your PC. Skip if you already have installed it.
- Download Driver from the Link.
- Then Install it as shown in the Link.
- Then Download the recommended files on your PC.
- Extract the ADB Folder and copy the recovery image into it. For easy process rename the image file into some easy word.
- Now boot your Note 4 in bootloader mode, Press and hold Volume Down + Power button. Then connect the phone with PC using the USB cable.
- From the ADB folder open cmd command and write fastboot devices and press enter. If it shows an ID, then you are connected. But if not, then the bootloader driver is not installed properly. Follow step 7 to fix or directly move to step 8.
- To fix it open Device Manager and then it will show the yellow I icon on the connected device. Right click on it and then click update driver. Then click on Browse from the desktop then click on Let me pick. Then select Android option and then select bootloader and then Install.
- Now type the second command: fastboot flash recovery imagename.img and press enter. Note – image name is the filename of the image.
- Done. Now remove the cable and Press and Hold the Volume Up + Power button to boot into TWRP recovery.
Install Android Pie ROM on Redmi Note 4
- It’s time to install the Android Pie ROM on Redmi Note 4.
- After successfully applying the previous step Go to Install and select the AOSP 9.0 ROM and Install it.
- Then Reboot the System. It will take about a minute but will be faster than any other custom ROM.
- Now again press and hold volume up + power button to go to TWRP recovery. Then Go to Install and select the Gapps and Install it. Then Reboot the system.
- You have now successfully installed the Android 9 on Redmi Note 4.
How to Convert Recovery into Trebled build Recovery
- Open TWRP recovery and go to wipe and format data. Also, do an Advance wipe except for external Sd and USB OTG.
- If you do not have an SD card then Connect Redmi Note 4 with PC using cable and open the Internal storage in PC and copy the ROMs and Gapps in it. If you have the SD card then skip this step.
- Now in TWRP go to Install and select Mokee or any lineage OS ROM and swipe to install. After installation, don’t reboot the device, go back to TWRP home and go to advance wipe and only select system and swipe.
- Done. Now you have trebled build TWRP recovery.
About AOSP 9.0 Stable ROM:
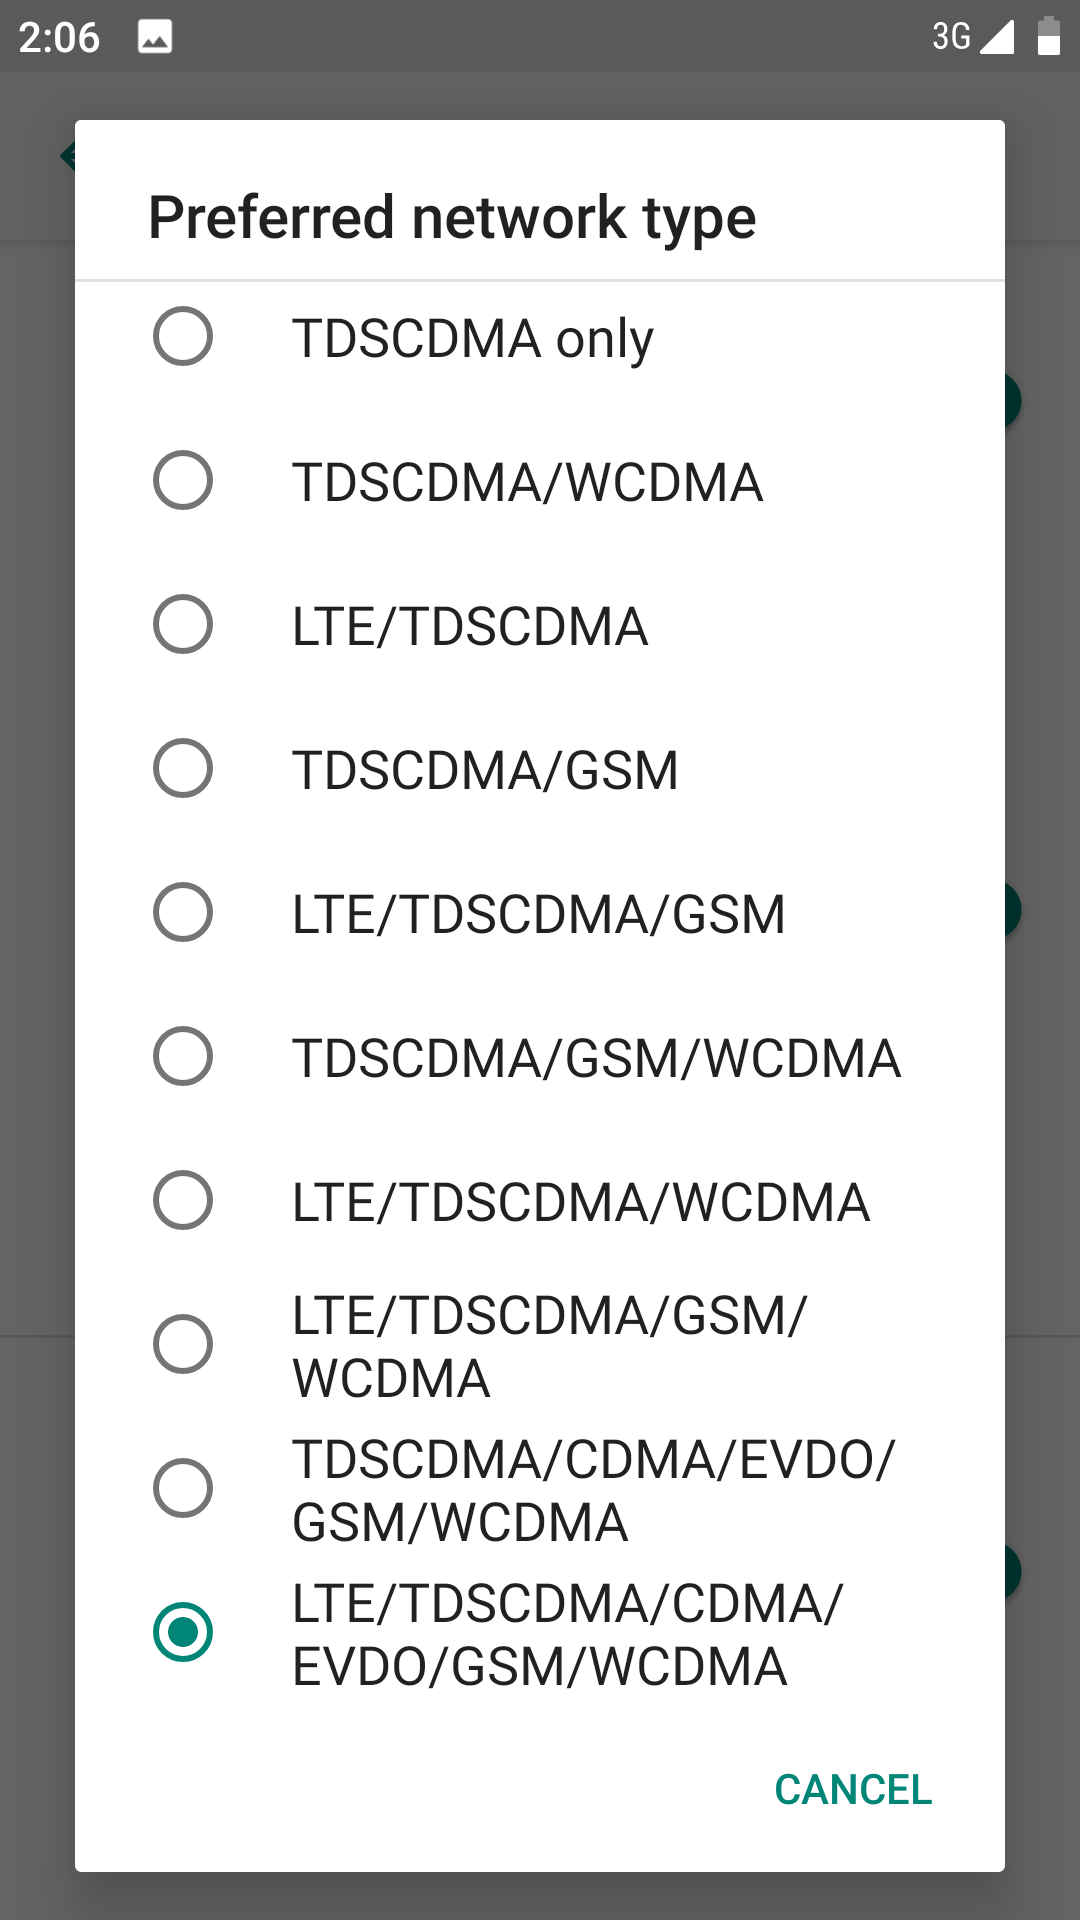
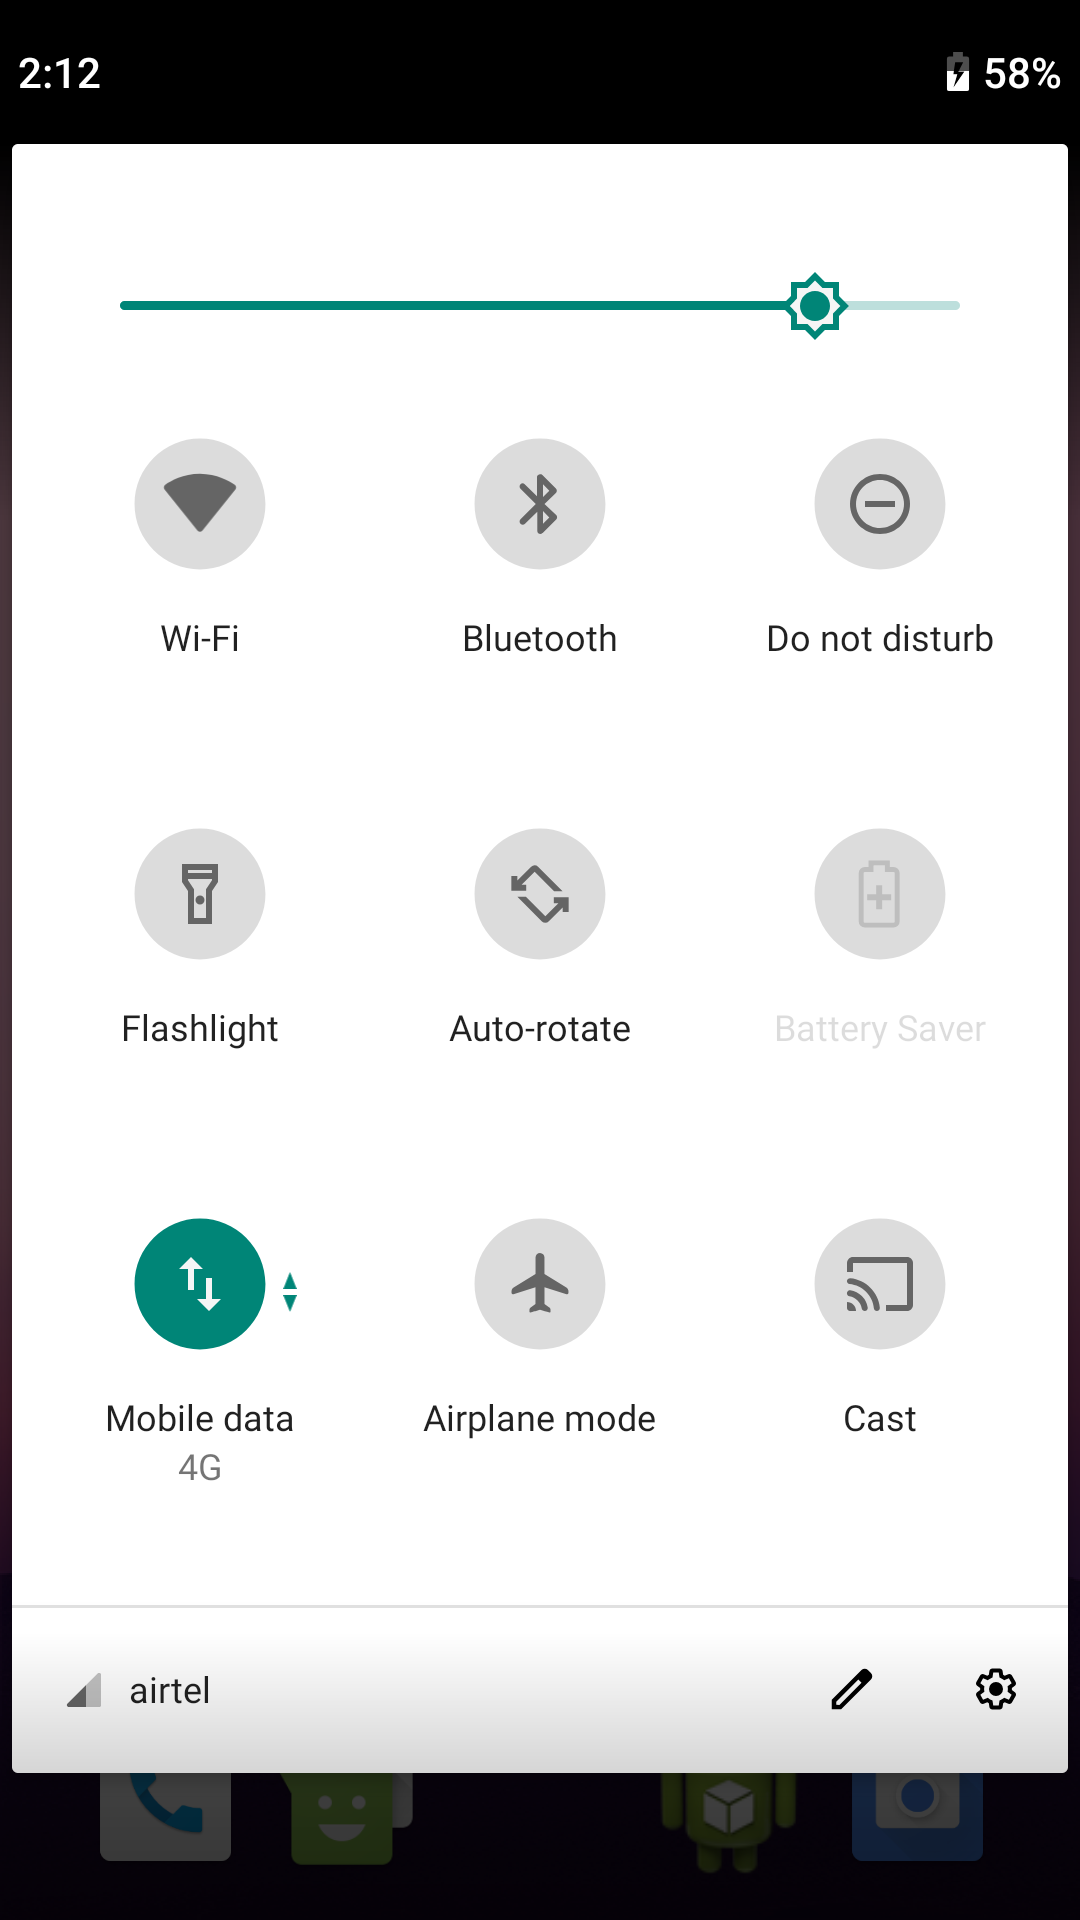
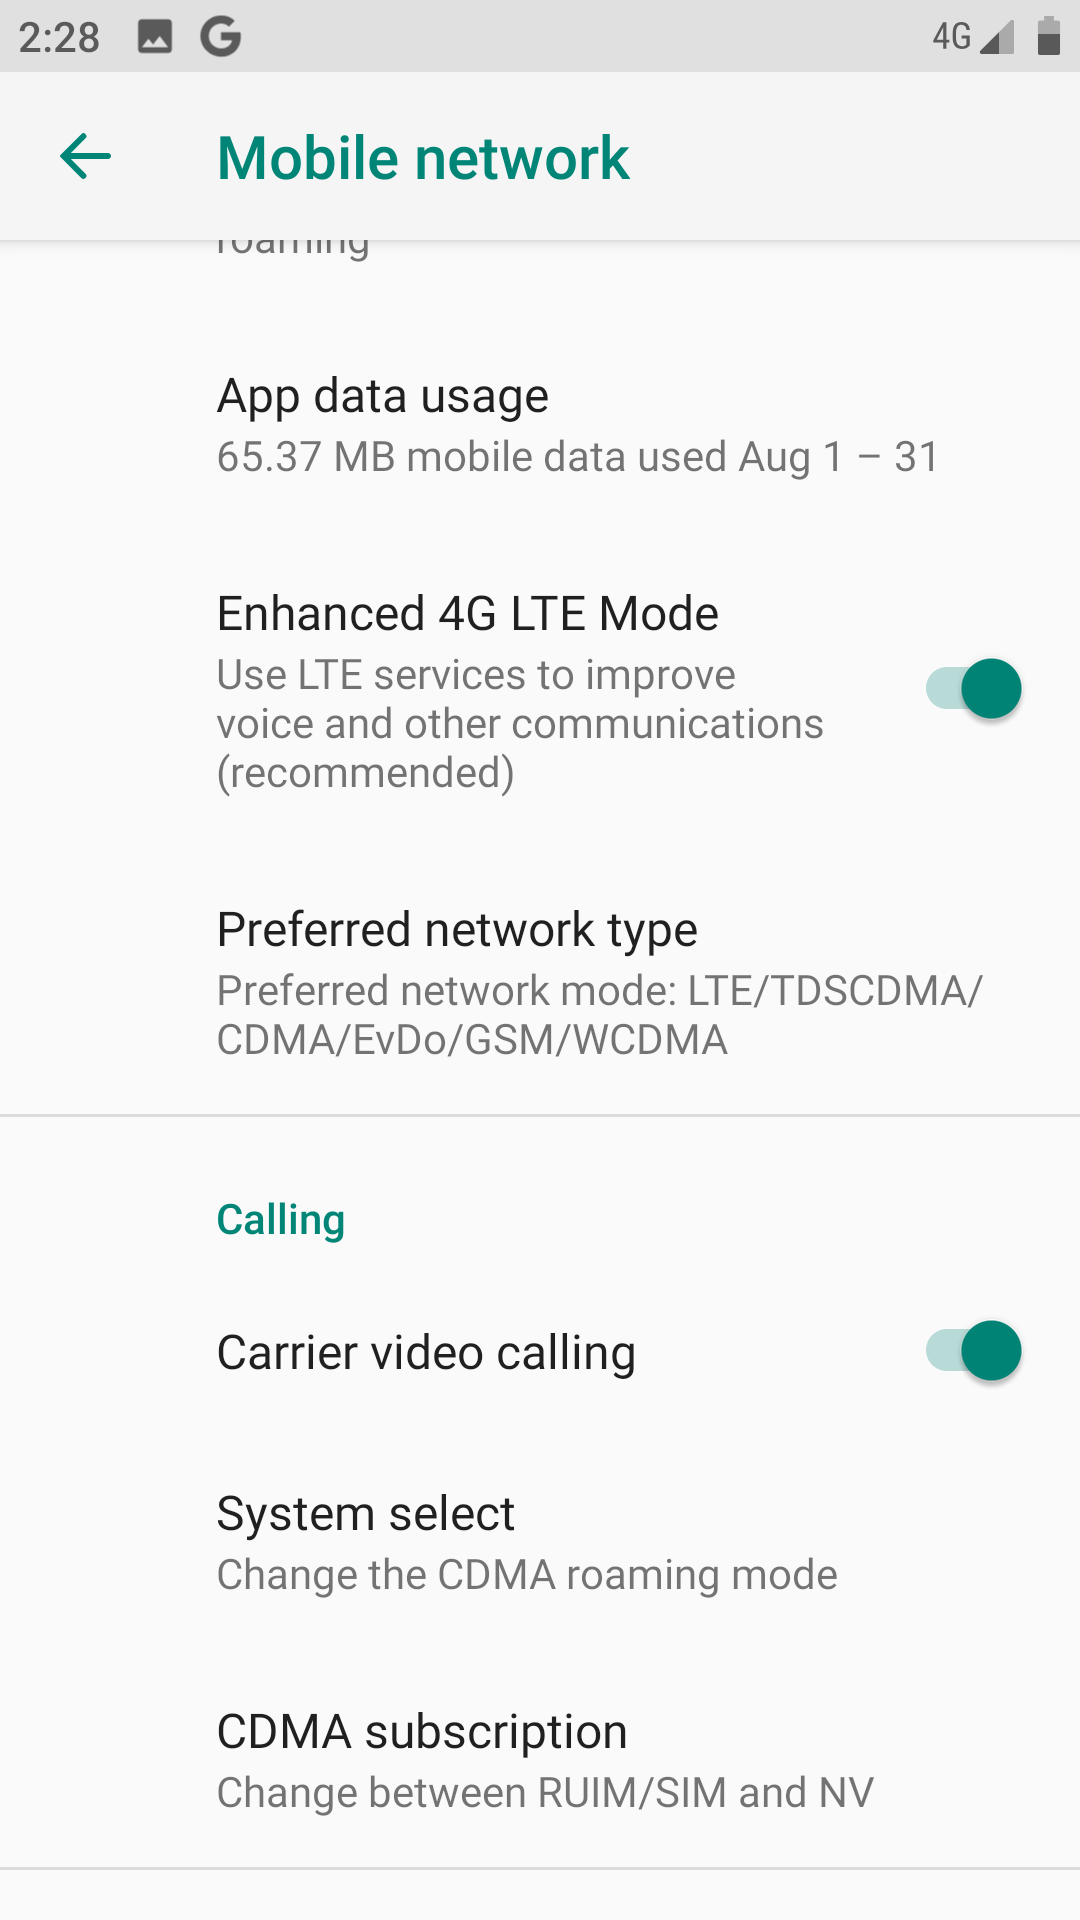
I have personally tested it and it works very well. Also, VoLTE and Fingerprint are working properly. RAM management is really superb and the ROM is smooth.
You can also Install Digital Wellbeing if you want. Check out how to install Digital Wellbeing on any Android 9 phones including Redmi Note 4.Also, check out the screenshot of the UI of the ROM.


This is How to Install Android 9 on Redmi Note 4. And if you face any problem during installation you can reach out to us through Facebook or comment. We will try to help you out.
Also Read:

